In this comprehensive guide, you'll learn how to create a custom Visual Studio project template for AWS Lambda applications. We'll cover setting up dependency injection, configuring AWS X-Ray, and sharing your template through NuGet. This tutorial is perfect for .NET developers who want to streamline their Lambda project creation process.
Prerequisites
- Visual Studio
- AWS Toolkit for Visual Studio
Step 1: Create Lambda Project
Create a new project from Visual Studio and Select AWS Lambda Project (.NET Core C#).
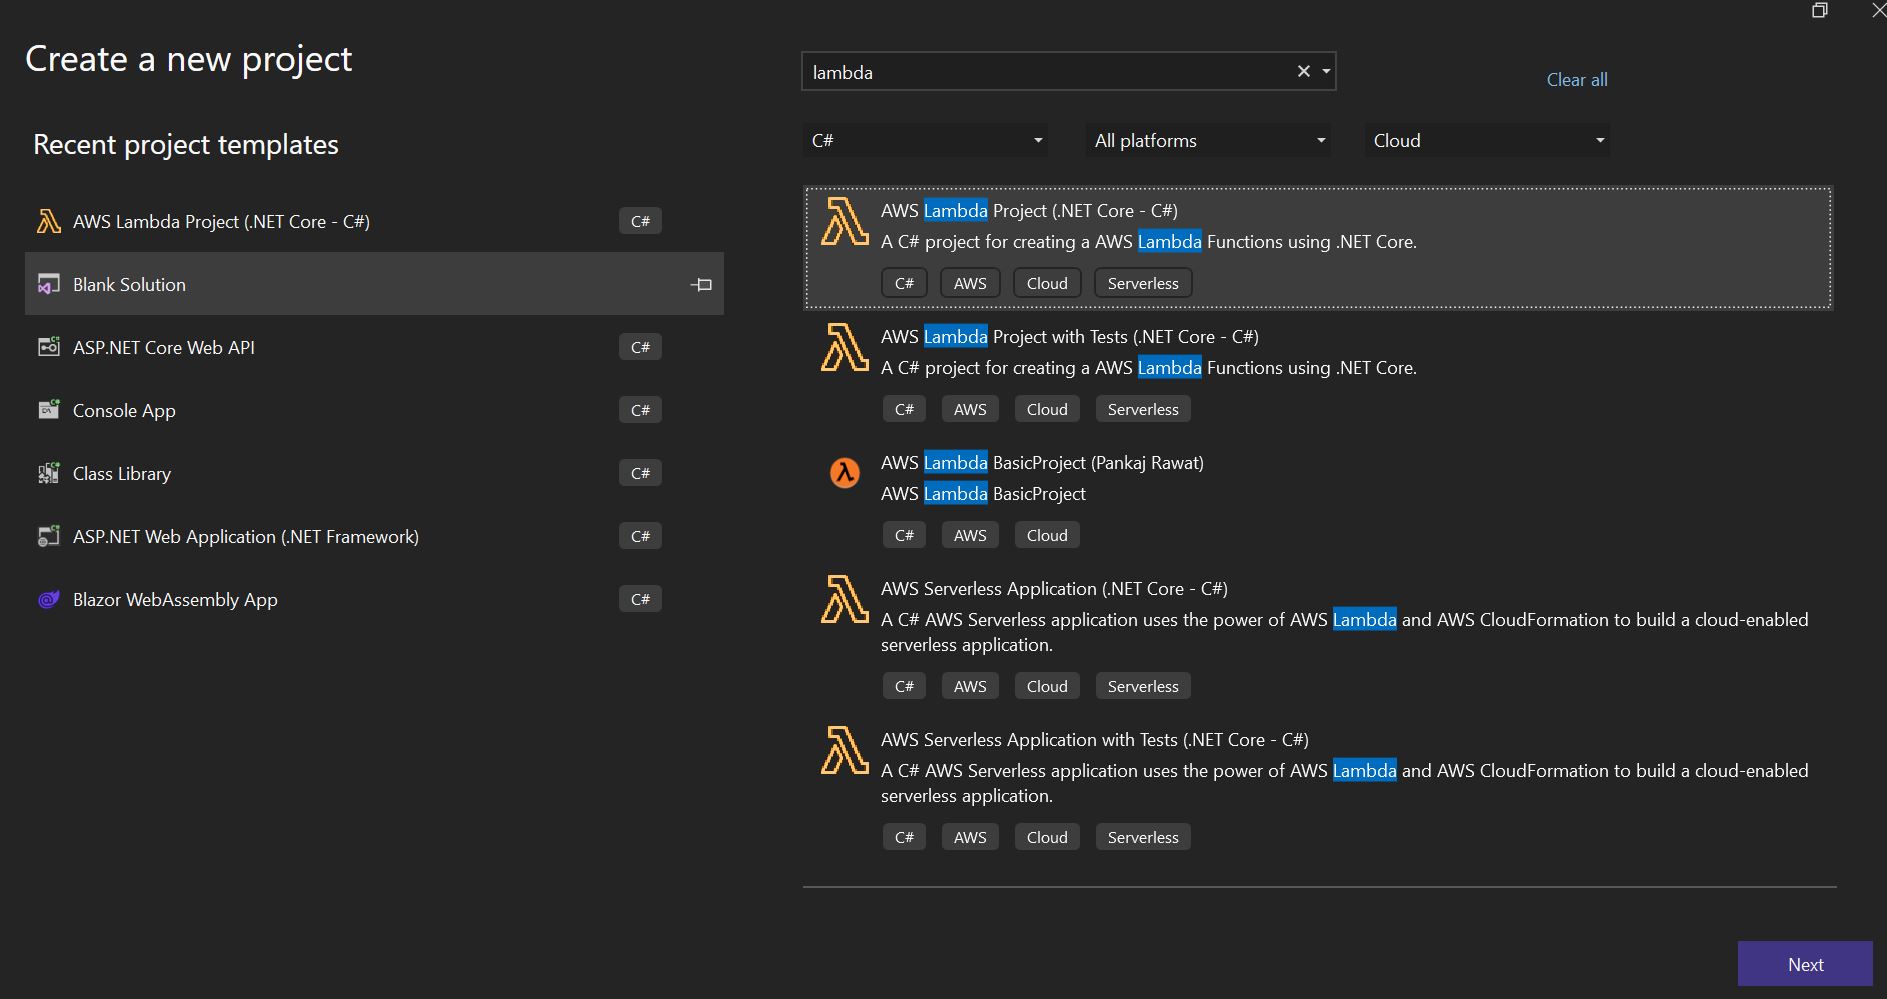
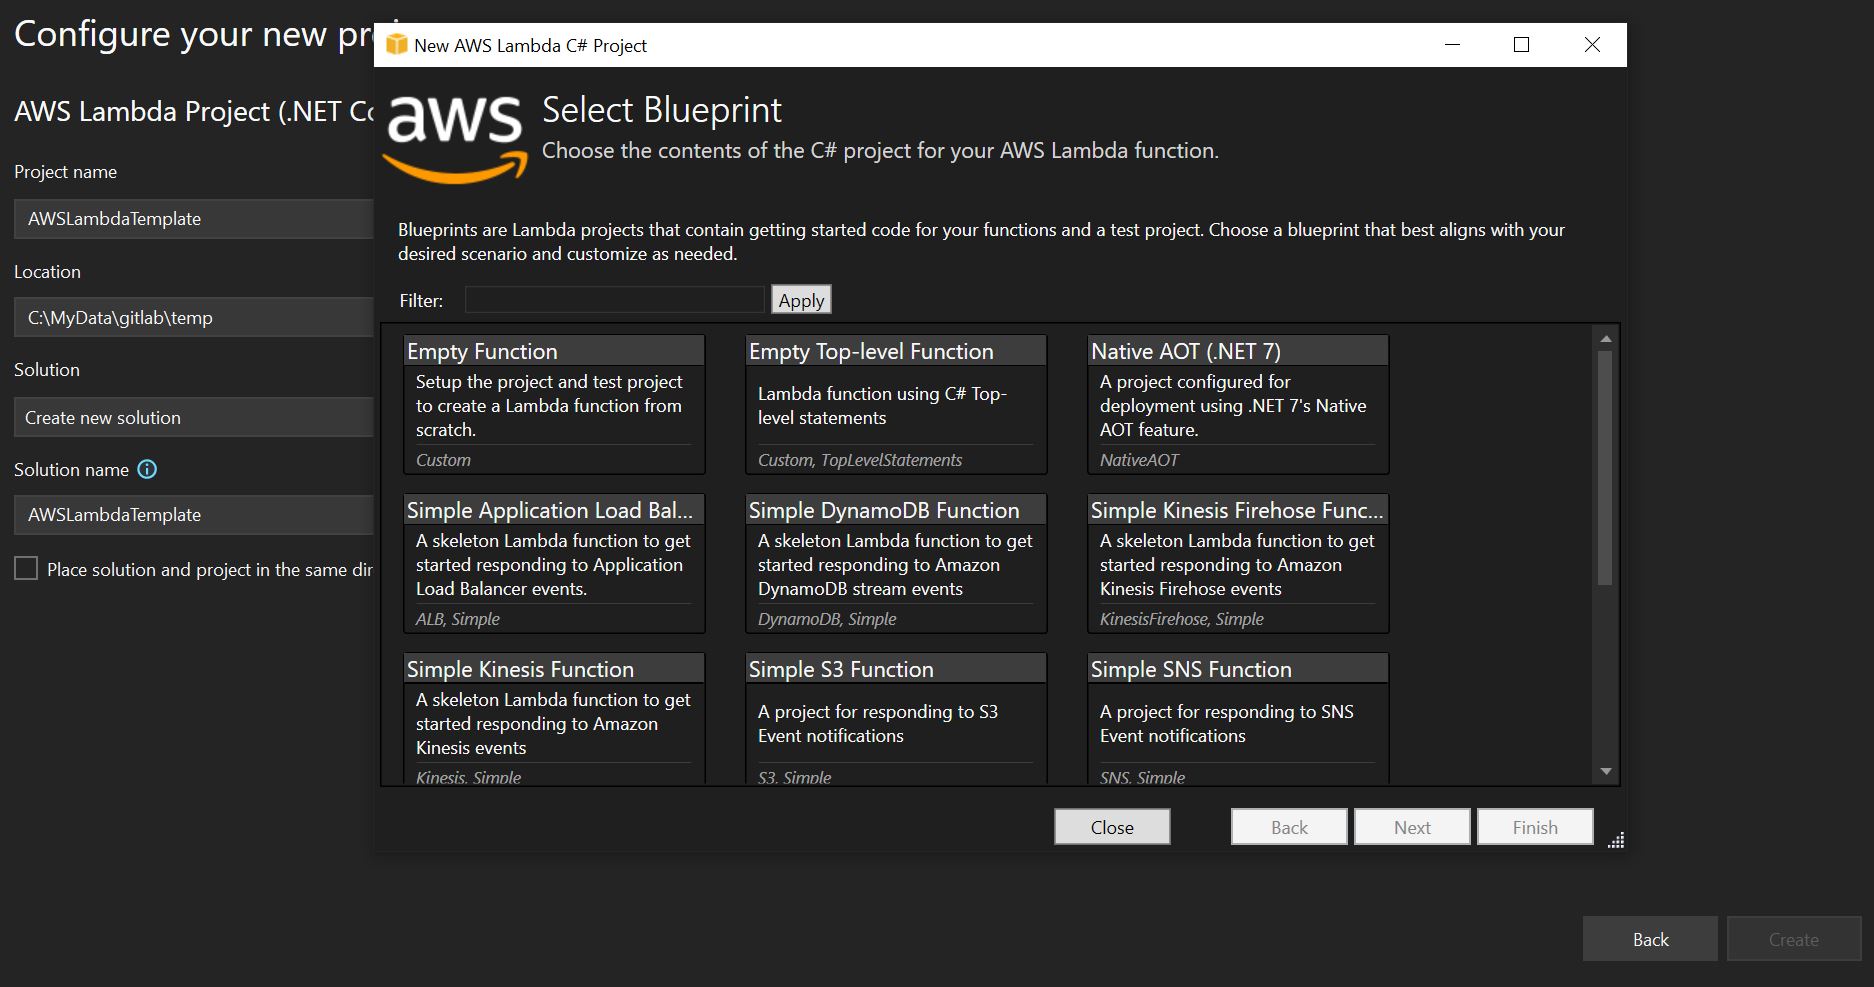
Project name AWSLambdaTemplate and Select Empty Function from blueprints
Step 2: Update Lambda Function
Update AWS Lambda Function code to support dependency injection and AWS X-Ray setup.
1. Add NuGet Packages
Add the following NuGet packages to the project:
	<PackageReference Include="AWSSDK.Extensions.NETCore.Setup" Version="3.7.2" />
    <PackageReference Include="Microsoft.Extensions.Configuration" Version="7.0.0" />
    <PackageReference Include="Microsoft.Extensions.Configuration.EnvironmentVariables" Version="7.0.0" />
    <PackageReference Include="Microsoft.Extensions.Configuration.FileExtensions" Version="7.0.0" />
    <PackageReference Include="Microsoft.Extensions.Configuration.Json" Version="7.0.0" />
    <PackageReference Include="Microsoft.Extensions.DependencyInjection" Version="7.0.0" />
    <PackageReference Include="Microsoft.Extensions.Logging" Version="7.0.0" />
    <PackageReference Include="Microsoft.Extensions.Logging.Console" Version="7.0.0" />
    <PackageReference Include="AWSXRayRecorder.Core" Version="2.13.0" />
    <PackageReference Include="AWSXRayRecorder.Handlers.AwsSdk" Version="2.11.0" />
2. Create Startup Class
Create a new file named Startup.cs and add the following code:
    using Amazon.Extensions.NETCore.Setup;
    using Amazon.XRay.Recorder.Handlers.AwsSdk;
    using Microsoft.Extensions.Configuration;
    using Microsoft.Extensions.DependencyInjection;
    using Microsoft.Extensions.Logging;

    namespace AWSLambdaTemplate
    {
        public class Startup
        {
            public IServiceProvider Configure()
            {
                var environment = Environment.GetEnvironmentVariable("ASPNETCORE_ENVIRONMENT");
                var configuration = new ConfigurationBuilder()
                    .SetBasePath(Directory.GetCurrentDirectory())
                    .AddJsonFile("appsettings.json", optional: false, reloadOnChange: true)
                    .AddJsonFile($"appsettings.{environment}.json", true)
                    .AddEnvironmentVariables()
                    .Build();

                var services = new ServiceCollection();

                //Add configuration
                services.AddSingleton<IConfiguration>(configuration);

                // Add logging service
                services.AddLogging(logging =>
                {
                    logging.ClearProviders();
                    logging.AddConsole();
                });

                //Register AWS X-Ray
                AWSSDKHandler.RegisterXRayForAllServices();

                // Get the AWS profile information from configuration providers
                AWSOptions awsOptions = configuration.GetAWSOptions();
                // Configure AWS service clients to use these credentials
                services.AddDefaultAWSOptions(awsOptions);

                return services.BuildServiceProvider();
            }
        }
    }
3. Update Function Class
Update the Function.cs file with the following code:
    using Amazon.Lambda.Core;
    using Microsoft.Extensions.DependencyInjection;
    using Microsoft.Extensions.Logging;

    // Assembly attribute to enable the Lambda function's JSON input to be converted into a .NET class.
    [assembly: LambdaSerializer(typeof(Amazon.Lambda.Serialization.SystemTextJson.DefaultLambdaJsonSerializer))]

    namespace AWSLambdaTemplate;

    public class Function
    {
        private readonly ILogger _logger;
        private readonly IServiceProvider _serviceProvider;
        public Function()
        {
            _serviceProvider = new Startup().Configure();
            _logger = _serviceProvider.GetRequiredService<ILogger<Function>>();
        }

        public string FunctionHandler(string input, ILambdaContext context)
        {
            _logger.LogInformation($"Received input {input}");
            return "Hello from AWSLambdaTemplate";
        }
    }
4. Add Configuration Files
Create appsettings.json and appsettings.Development.json file. Copy the content below in appsettings.Development.json file and set copy to output directory to Copy if newer.
{
  "XRay": {
    "DisableXRayTracing": "true",
    "UseRuntimeErrors": "false",
    "CollectSqlQueries": "false"
  }
}
- Open
launchSettings.jsonfile and add environment variables below.
{
  "environmentVariables": {
    "ASPNETCORE_ENVIRONMENT": "Development",
    "AWS_XRAY_CONTEXT_MISSING": "LOG_ERROR"
  }
}
Step 3: Create template config
When you create a template, all files and folders in the template folder are included as part of the template except for the special config folder. This config folder is named .template.config.
Create Template Configuration Files
Create the following folder structure:
src
 └───AWSLambdaTemplate
     └───.template.config
        │   └───template.json
        │   └───ide.host.json
        │   └───icon.png
        │
        └───AWSLambdaTemplate.csproj
        └───Function.cs
        └───aws-lambda-tools-defaults.json
        └───appsettings.json
        └───appsettings.Development.json
- Create
.template.configfolder. - Open
.template.configfolder and create newtemplate.jsonfile. - Open and Update below content in
template.jsonfile.
{
	"$schema": "http://json.schemastore.org/template",
	"author": "Pankaj Rawat",
	"classifications": ["AWS", "Cloud"],
	"name": "RawatPankaj.Com AWS Lambda Project",
	"defaultName": "AWSLambda",
	"identity": "RawatPankaj.Com.AWSLambda",
	"shortName": "RawatPankaj.Com.AWSLambda",
	"tags": {
		"language": "C#",
		"type": "project"
	},
	"sourceName": "AWSLambdaTemplate"
}
This config file contains all of the settings for your template.
- Create
ide.host.jsonfile in same location (Optional).
{
	"$schema": "http://json.schemastore.org/vs-2017.3.host",
	"icon": "icon.png"
}
- Add icon.png file for template project (Optional). This icon will appear in Visual Studio with custom project template.
Step 4: Create template package
Create nuspec file
RawatPankaj.Com.Lambda.Template.nuspecwith the content below.
Note:- Change file name and content below as per your folder structure. Refer below folder structuresrc └───AWSLambdaTemplate │ └───.template.config │ │ └───template.json │ │ └───ide.host.json │ │ └───icon.png │ │ | └───AWSLambdaTemplate.csproj | └───Function.cs | └───aws-lambda-tools-defaults.json | └───appsettings.json | └───appsettings.Development.json │ └───RawatPankaj.Com.Lambda.Template.nuspec
<?xml version="1.0" encoding="utf-8"?>
<package
	xmlns="http://schemas.microsoft.com/packaging/2012/06/nuspec.xsd">
	<metadata>
		<id>RawatPankaj.Com.Lambda.Template.nuspec</id>
		<version>1.0.0</version>
		<description>
            Project template for creating a .NET Lambda project with DI, Logging and X-Ray.
            </description>
		<authors>Pankaj Rawat</authors>
		<license type="expression">Apache-2.0</license>
		<packageTypes>
			<packageType name="Template" />
		</packageTypes>
	</metadata>
	<files>
		<file src="Content\**\*.*" exclude="Content\**\bin\**\*.*;Content\**\obj\**\*.*" target="Content" />
	</files>
</package>
- Create nuget package (Make sure you have nuget.exe on your system or download from nuget.org)
Run below command to create nuget package.
nuget.exe pack RawatPankaj.Com.Lambda.Template.nuspec -OutputDirectory .\nupkg

Step 5: Install template package
Run below command to install template package
dotnet new install C:\project\AWSLambdaTemplate\RawatPankaj.Com.Lambda.Template.nuspec.1.0.0.nupkg

Step 6: Test new template
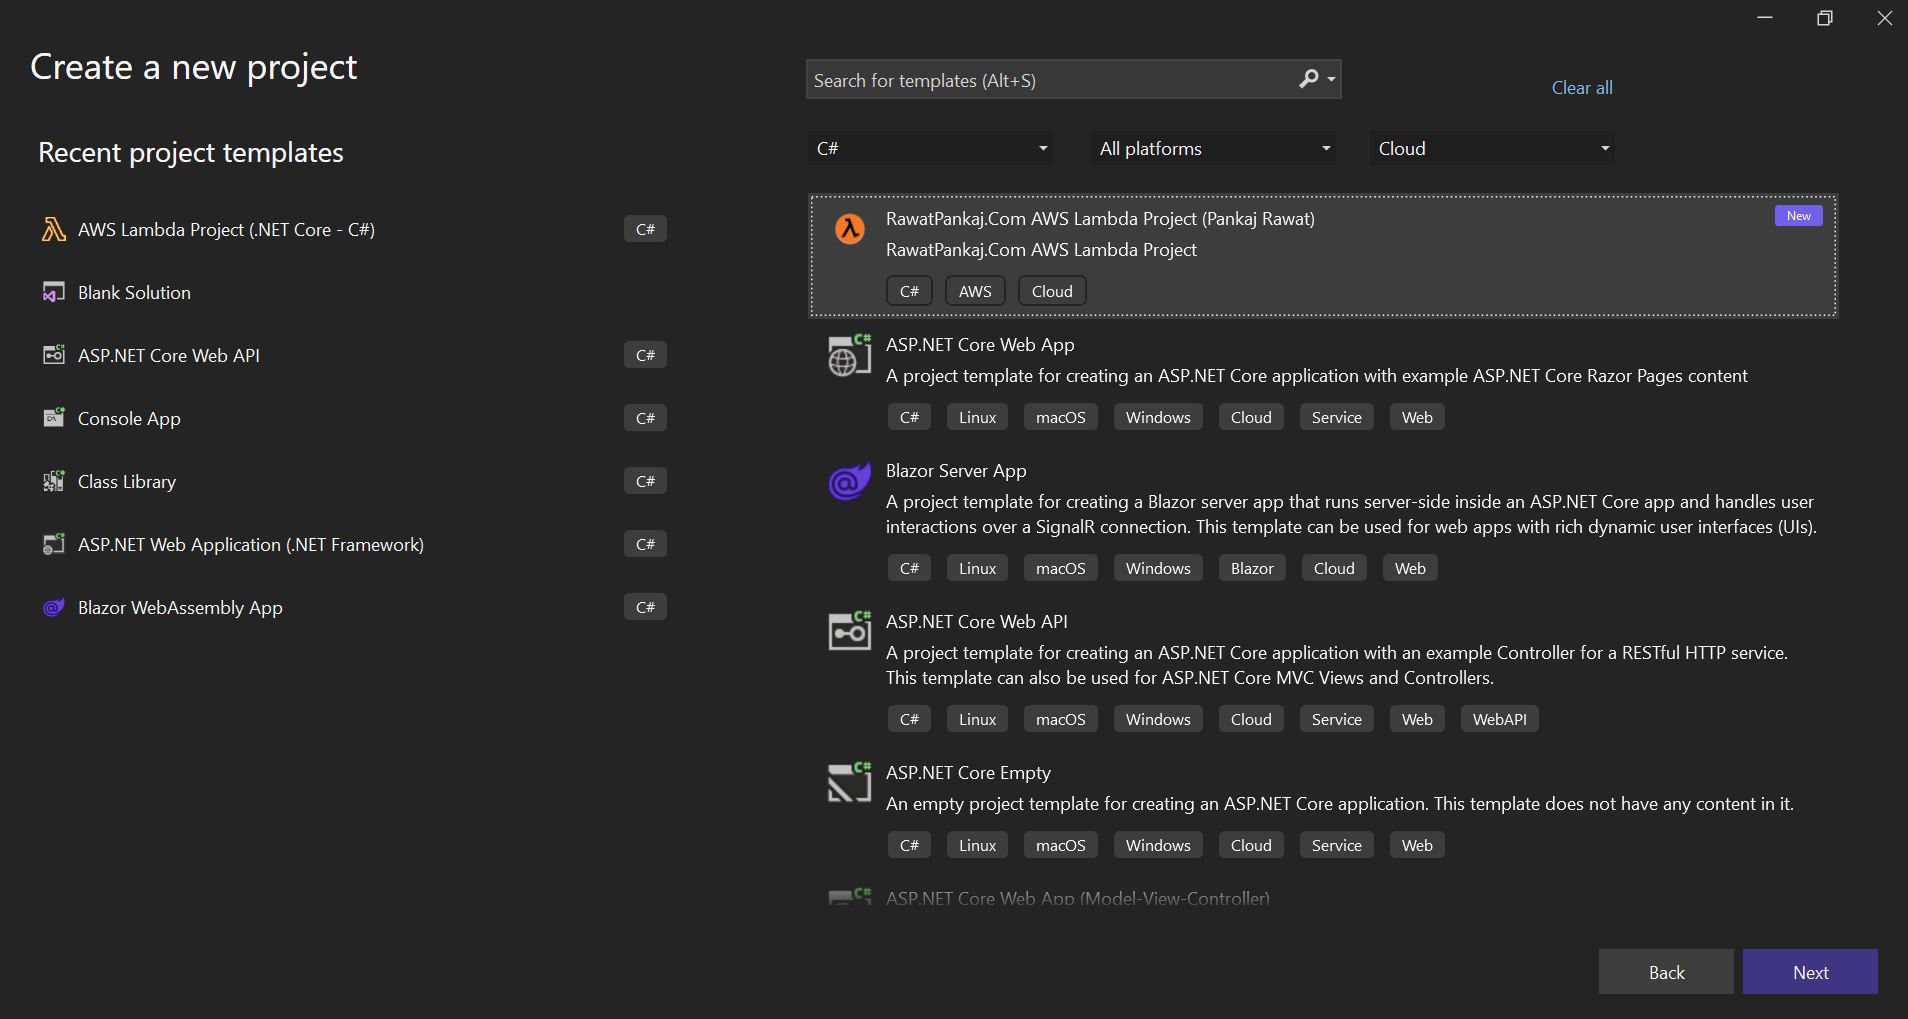
Open Visual Studio new instance and Create a new project. You can search by name or scroll down to the bottom. Select AWS Lambda Basic Project and Create project.
Step 7: Uninstall template (Optional)
If you want to make any changes to the template. You have to first uninstall template from Visual Studio.
Below is the location of Visual Studio custom template.
C:\Users\<user>\.templateengine\packages
To uninstall template from Visual Studio, Open powershell and run below commands.
- Create Reset-Template function
function Reset-Templates{
    [cmdletbinding()]
    param(
        [string]$templateEngineUserDir = (join-path -Path $env:USERPROFILE -ChildPath .templateengine)
    )
    process{
        'resetting dotnet new templates. folder: "{0}"' -f $templateEngineUserDir | Write-host
        get-childitem -path $templateEngineUserDir -directory | Select-Object -ExpandProperty FullName | remove-item -recurse
        &dotnet new --debug:reinit
    }
}
- Run Reset-Template

Step 8: Share template package
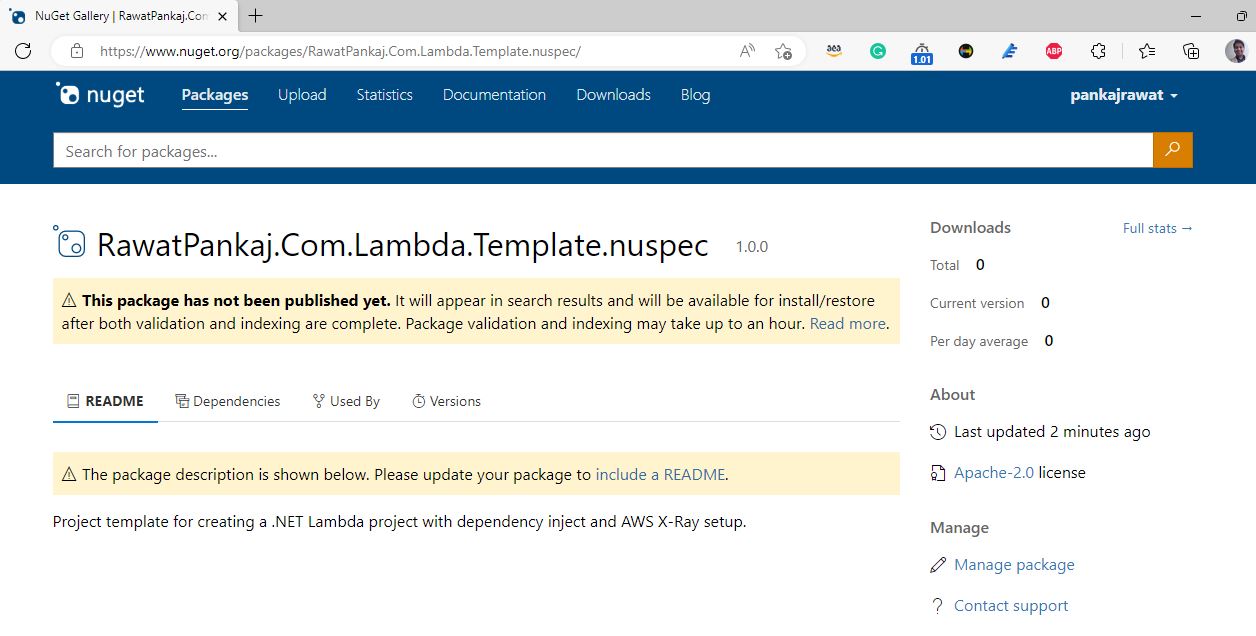
You can use nuget.org to share your custom Visual Studio project template.
- Sign in to nuget.org and Click on Upload menu.
- Browse your nuget package (.nupkg file)
- Verify nuget package detail and click Submit.
you can download my custom project template from below command
dotnet new install RawatPankaj.Com.Lambda.Template.nuspec
References
Custom templates for dotnet new